K'NEX Water Wheel
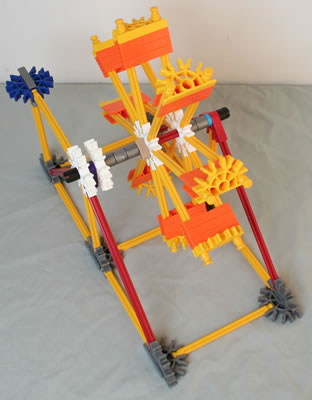
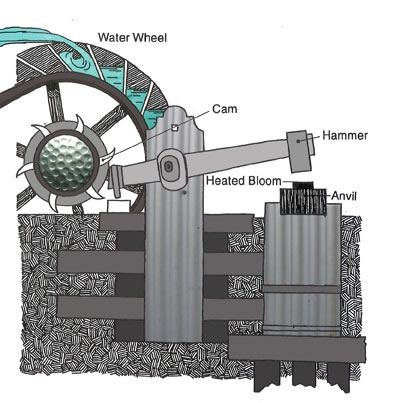
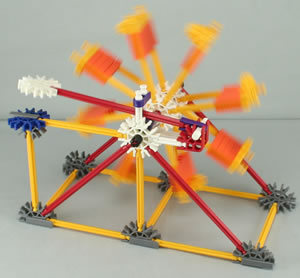
This K'NEX Water Wheel really works! The falling water turns the wheel, which make a "trip hammer" go up and down.
View video
The model can be built using a K'NEX Base kit

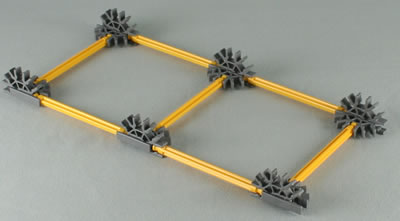
First, assemble the seven 3D connectors shown in the photo opposite.
Please visit Handy Hint A4 if you need help to do this.

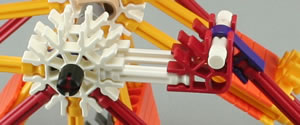
Then build the axle assembly by adding to a red rod:
1. A snap cap black.
2. A white connector.
3. A purple clip (the red rod fits through the hole in this clip).
4. A white connector.
5. Three silver spacers.
6. A tan clip facing in the direction shown.
7. Two white connectors.
8. Two silver spacers.
9. A blue spacer.
10. A red connector (the red rod fits through the hole in this connector).
11. A snap cap black.
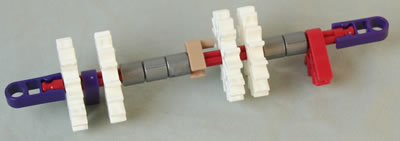
If you don't have any of the snap cap black part, you can modify the parts to fitted onto the red rod, as follows:
1. Exclude the small blue spacer.
2. Attach a purple clip to each end of the red rod, instead of a snap cap black.
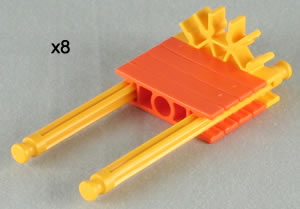
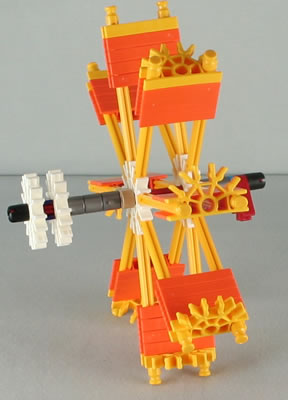
Now build 8 paddles.
Please note that younger children may find this step difficult, if their fingers are not strong enough to push the yellow rod into the ends of the orange and yellow connectors. You may wish to pre-assemble the 8 paddles for them.
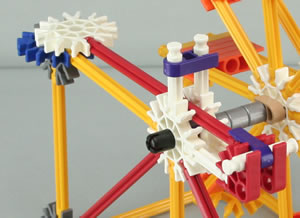
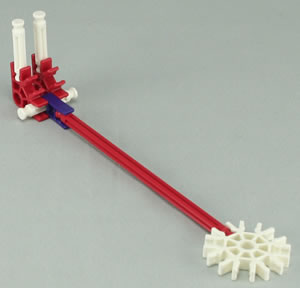
…position the hammer as shown in the photo…
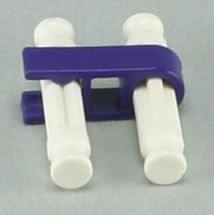
…and attach the small assembly, which helps to keep the hammer from jumping out of place.
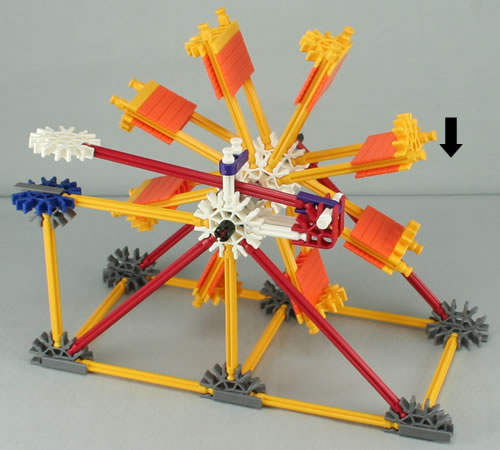
Your water wheel is now complete.
Turn the wheel to check that the trip hammer goes up and down.
What next?
Find a suitable place to test your water wheel with a stream of water. The water may splash all over the place, so a bath or an outside area would probably be best.
Find a source of water that will give a continuous thin stream of water, such as a tap or hosepipe.
Position the flow of water so that it hits the paddles of the water wheel in the direction shown in the photo. The water wheel will turn, making the trip hammer go up and down.

