


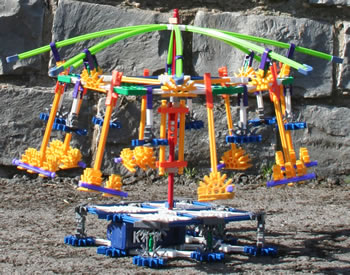
Motorised Fairground ride
This model can be built using a 12211 K'NEX 50-model set or a 13419 K'NEX 70-model set plus a 22722 K'NEX Battery motor Green.
We recommend that, before attempting to build this ride, you familiarise yourself with classic K'NEX parts by building a number of the models in the instruction book for the set, and also the simple motorised fan.
Note that the instructions provided in this section consist only of a series of photographs of the part-completed and finished models. Please email us if you feel that any stage of the assembly process is unclear.
The instructions may Downloaded if you prefer (.PDF 0.5Mb).
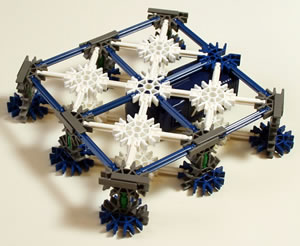
The first stage of assembly is to build the bottom part of the base of the Fairground ride, as shown in the photo.
Hint A4 explains how to join Blue and Grey 3D connectors, if you are not experienced in doing so.

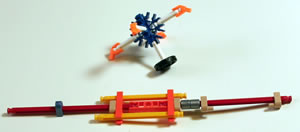
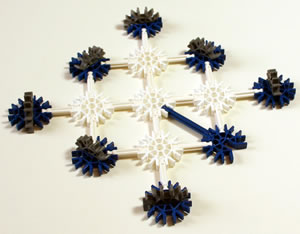
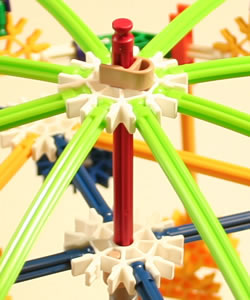
Next, build the shaft on which the canopy will turn, and the "Device" that will sit on top of the canopy...
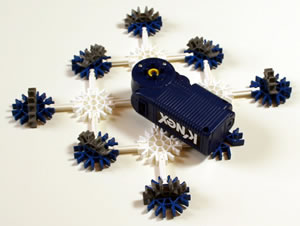
...and push the shaft right through the motor, as shown.
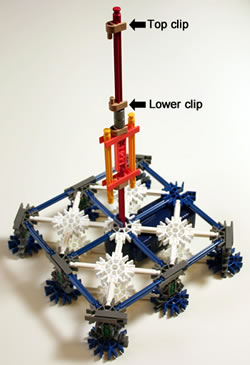
The "Top clip" and "Lower clip" are highlighted in this photo, because they are used during final assembly of the Fairground ride.
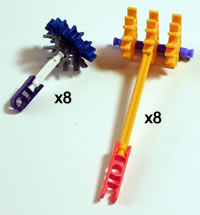
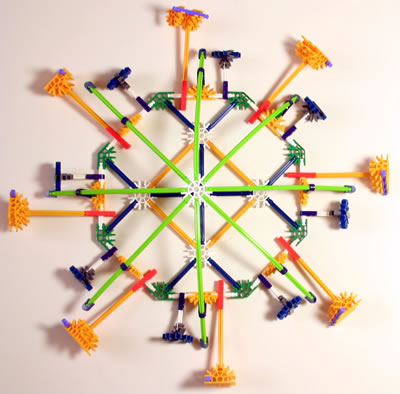
The next step is to assemble the canopy and seats, as shown in the photo.
When you lift up the completed canopy, you should see that the seats can swing freely.
Now attach the canopy to the base, as follows:
1. Remove the "Top clip" from the top of the axle.
2. Slide the canopy down onto the shaft, so that the bottom central white connector engages with the "Lower clip".
3. Replace the "Top clip", so that it engages with the top central white connector.
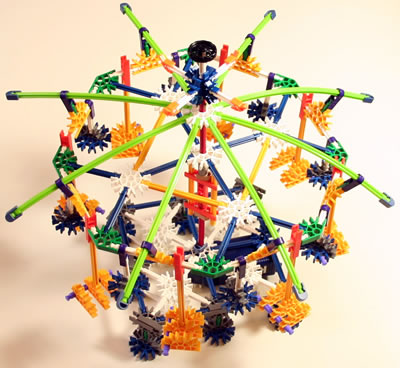
Finally, add the "Device" onto the top of the axle.
Your Fairground ride is now complete, and you can test it by switching on the motor.
![]()
![]()
![]()
![]()
![]()
Website last updated 20 Februrary 2026. Feedback ![]() 99% positive over last 12 months (3,000+ orders) More...
99% positive over last 12 months (3,000+ orders) More...